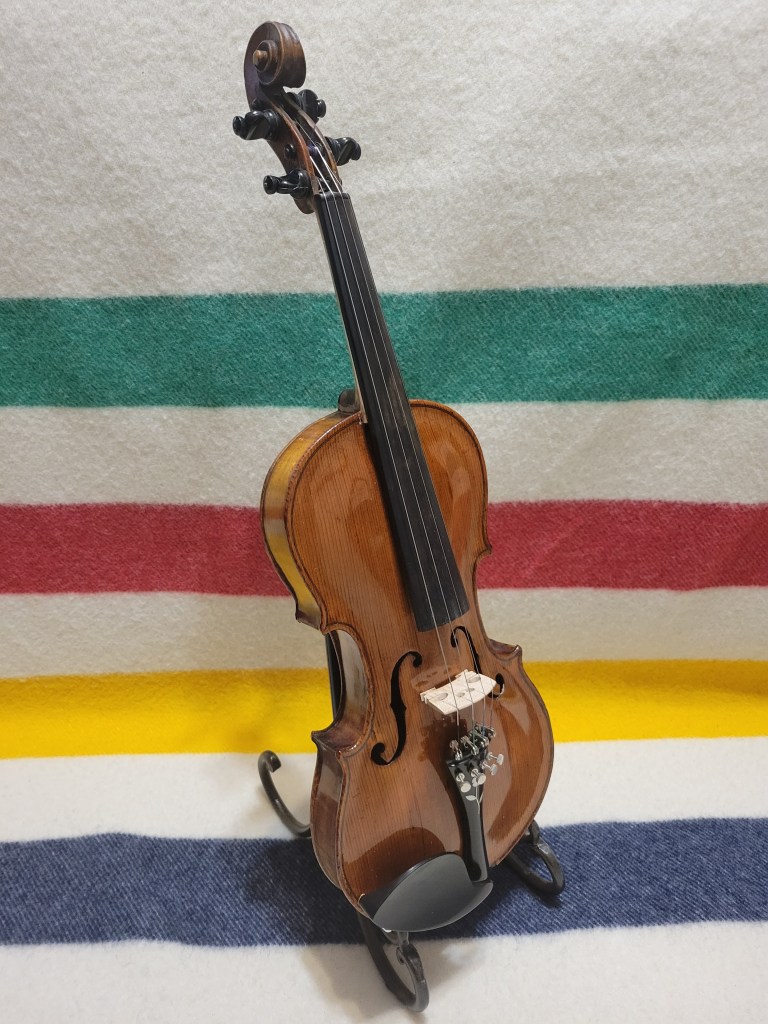
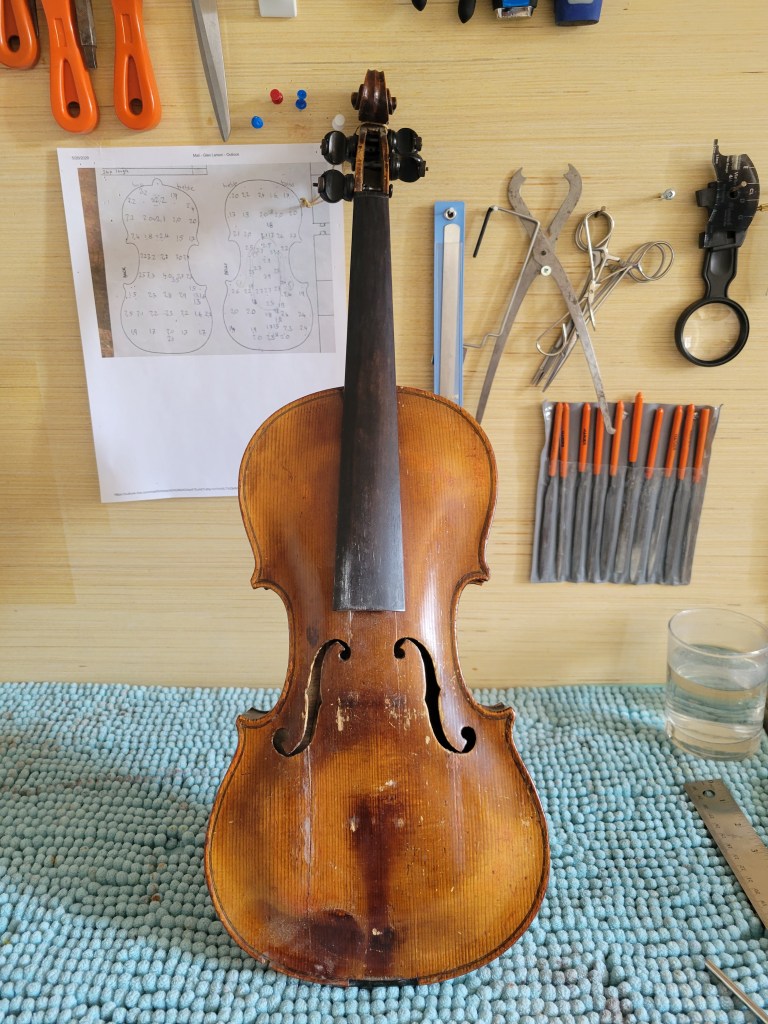
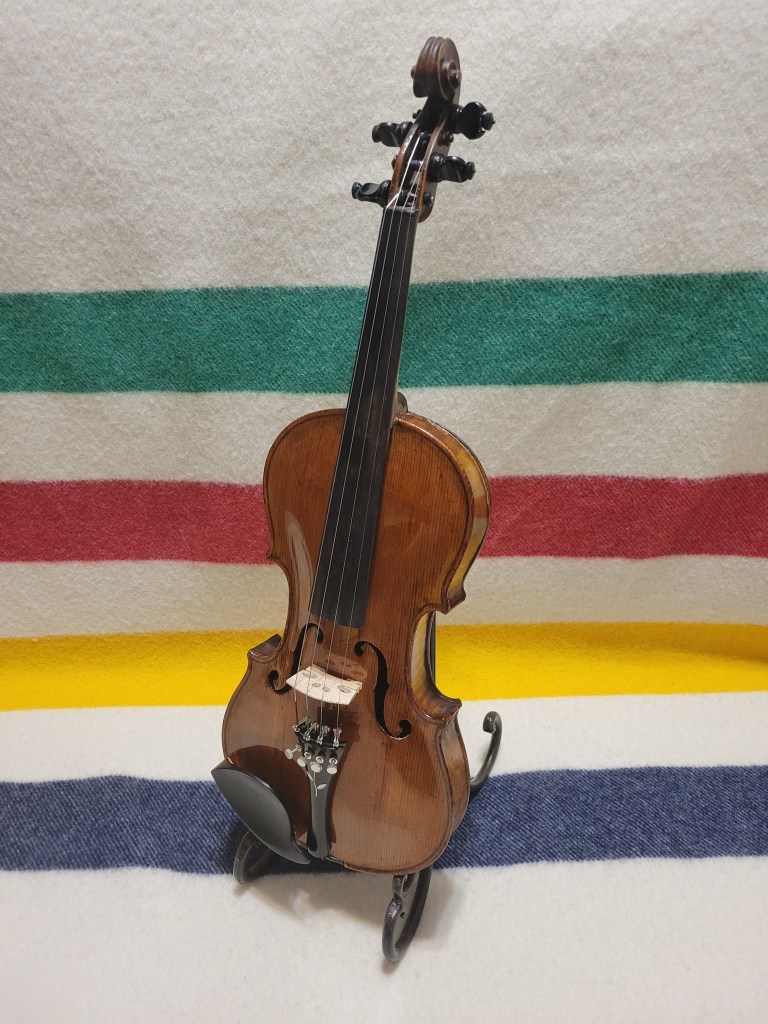
A few weeks ago, I was fortunate to find an old Stainer violin. The label inside had a notation scratched onto it, “Received Xmas 1923.” Someone was the proud owner of this shop-made instrument nearly a century ago:

Unfortunately, the violin was in extremely poor condition, making me wonder if I was fortunate to find it, or crazy to put in the work it would take.
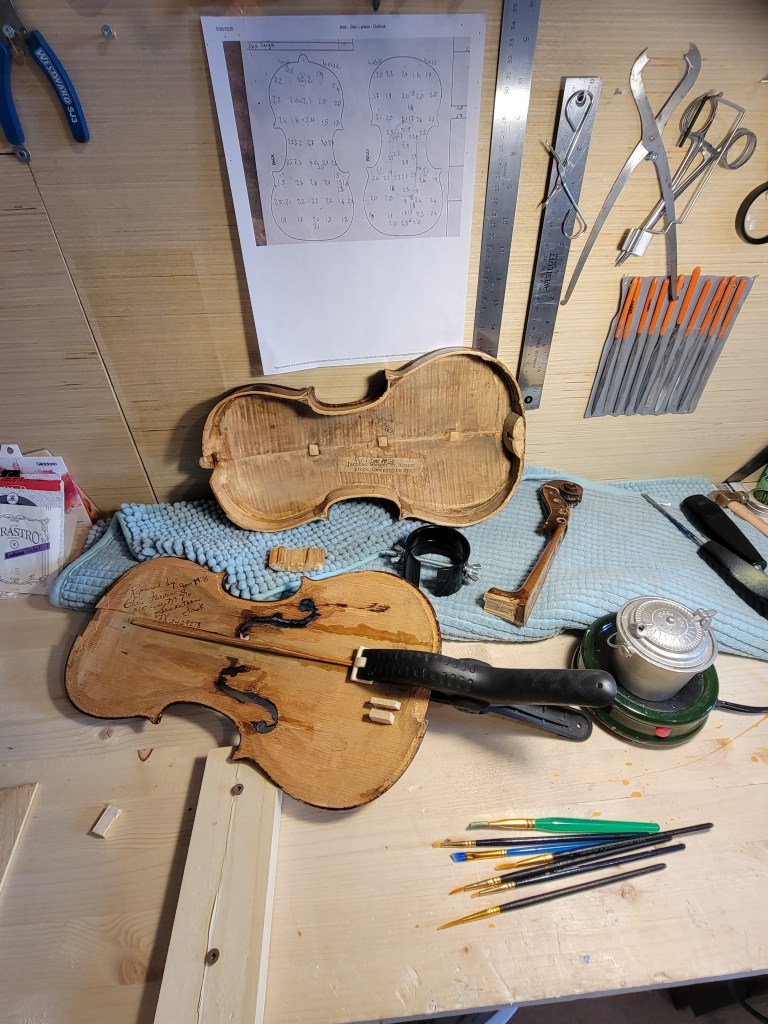
You’ll notice the title of this post is ‘Salvaging a Stainer’. There were a few issues that made me think I would be lucky to make it a violin again, as opposed to actually restoring. While on the topic, with tongue in cheek I suggest that my professional luthier and restoration friends look away from some of the things I had to resort to in the process. What you are about to see is far, far from the world in which the likes of master restorer Iris Carr live.
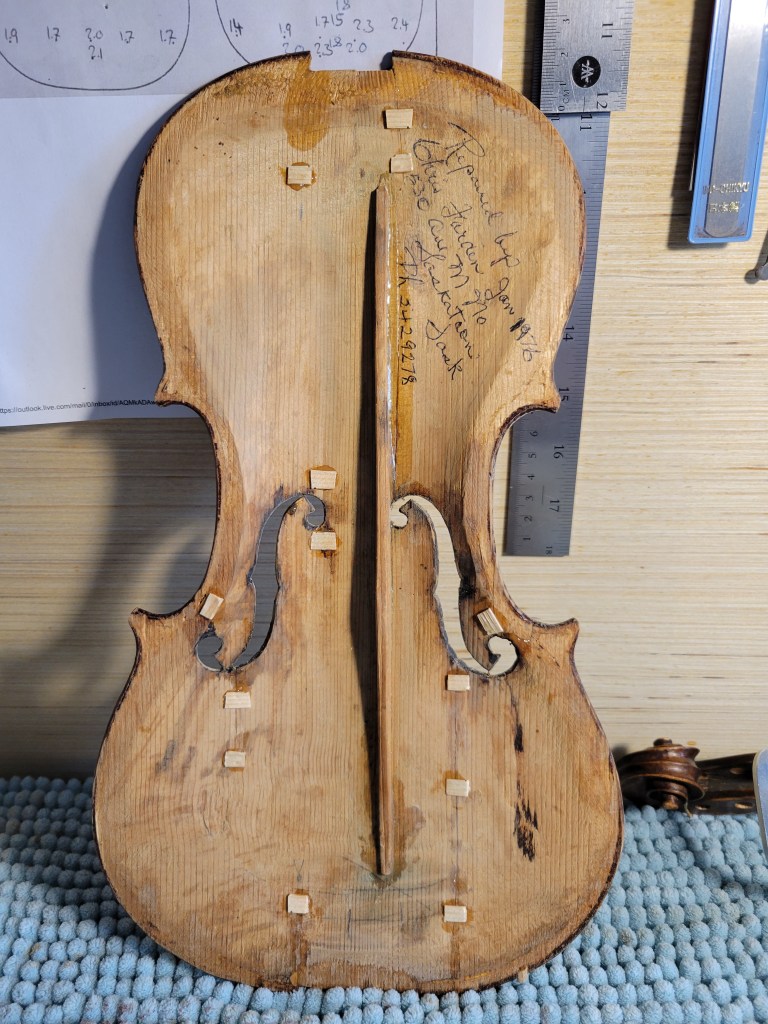
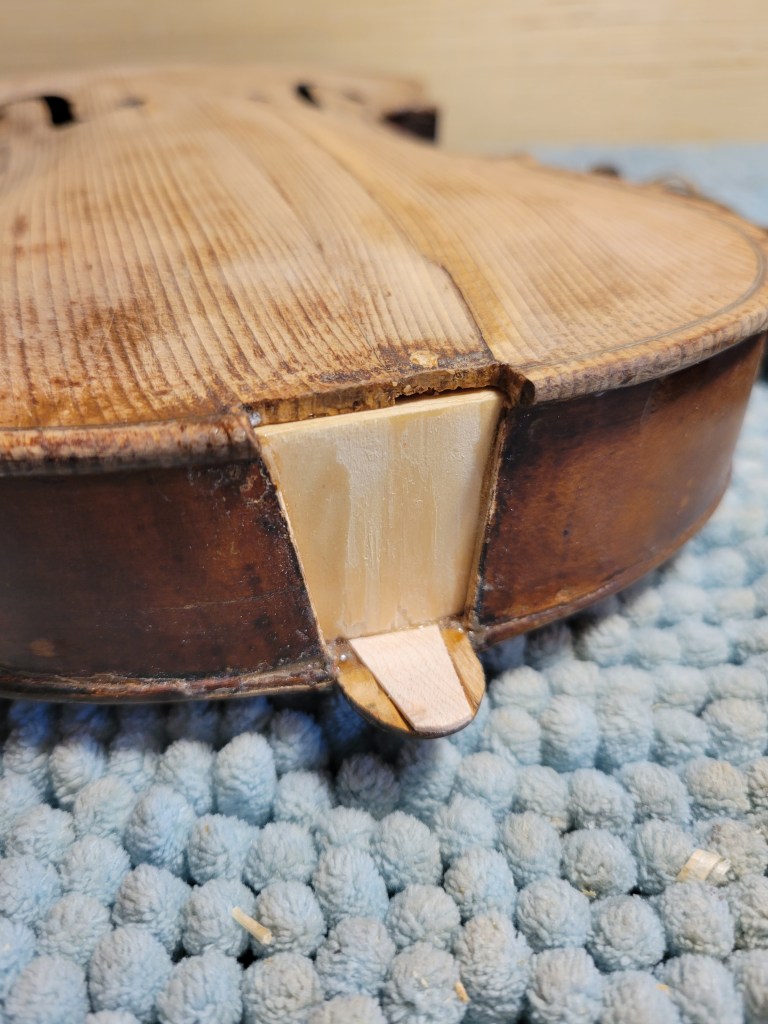
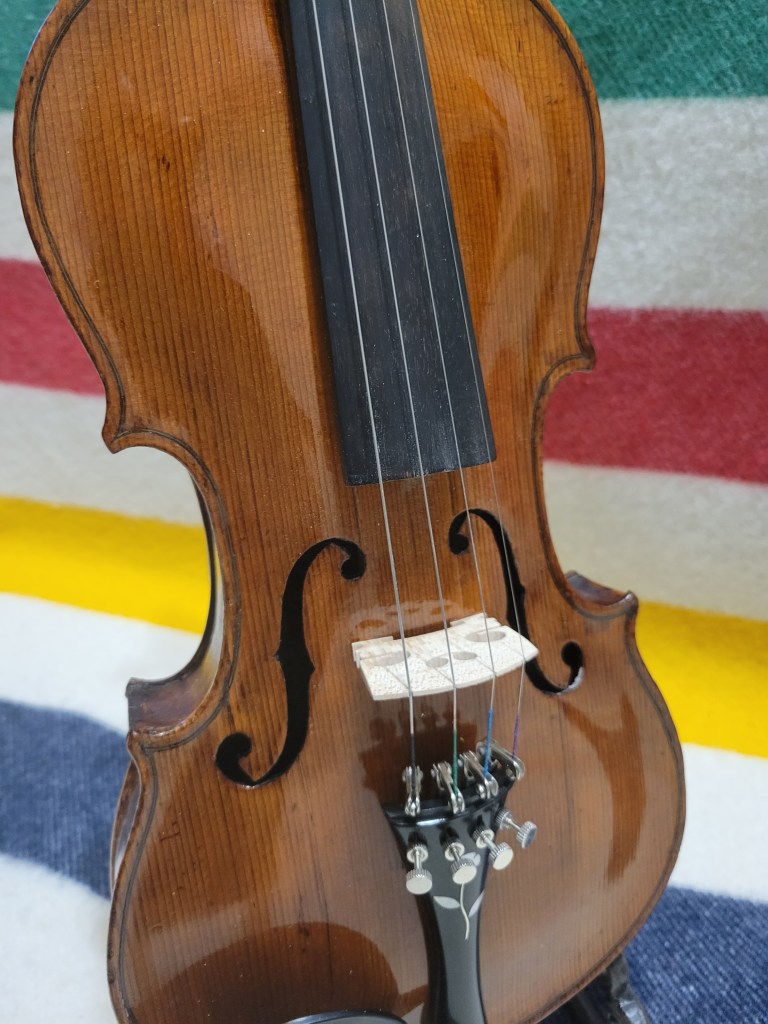
The most significant problem was that someone in the past had used some kind of epoxy or petroleum based glues. There were multiple cracks on the belly plate, glued unevenly. An internal inspection showed no cleating. The button had been broken off, meaning a button graft would be necessary. The fingerboard angle was completely wrong and the neck had been glued in crooked. There was a crack in the pegbox. The tuning pegs were the old mechanical style. Of course I had to take on this challenge. Knowing there was little to lose, I dug in!

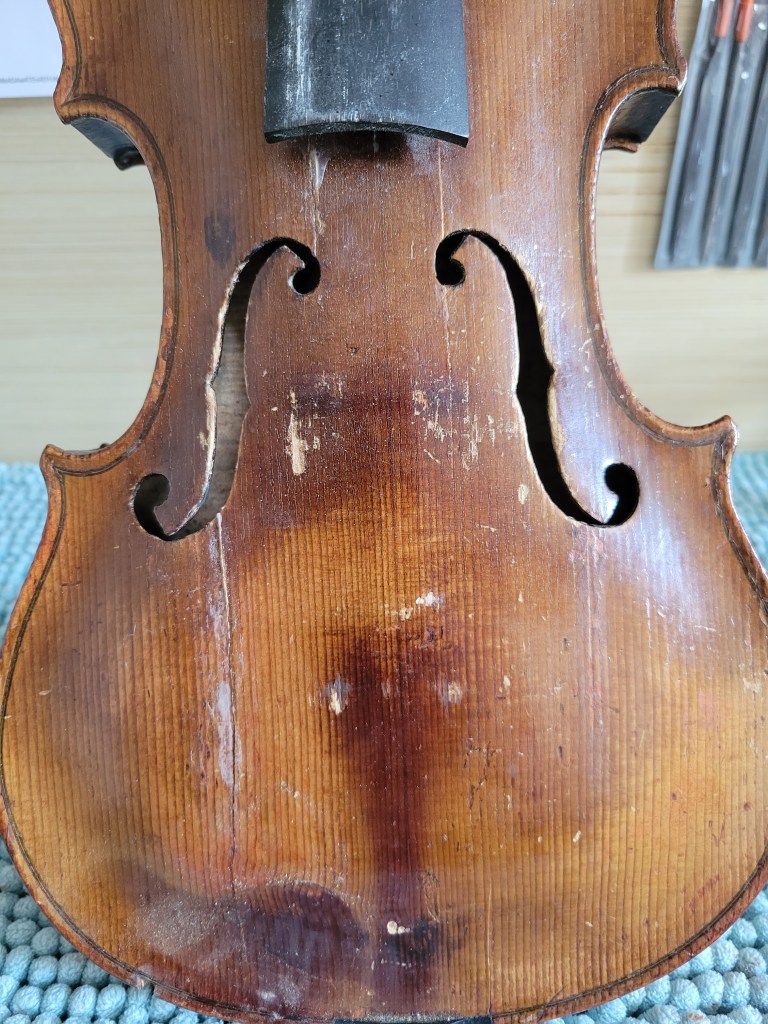


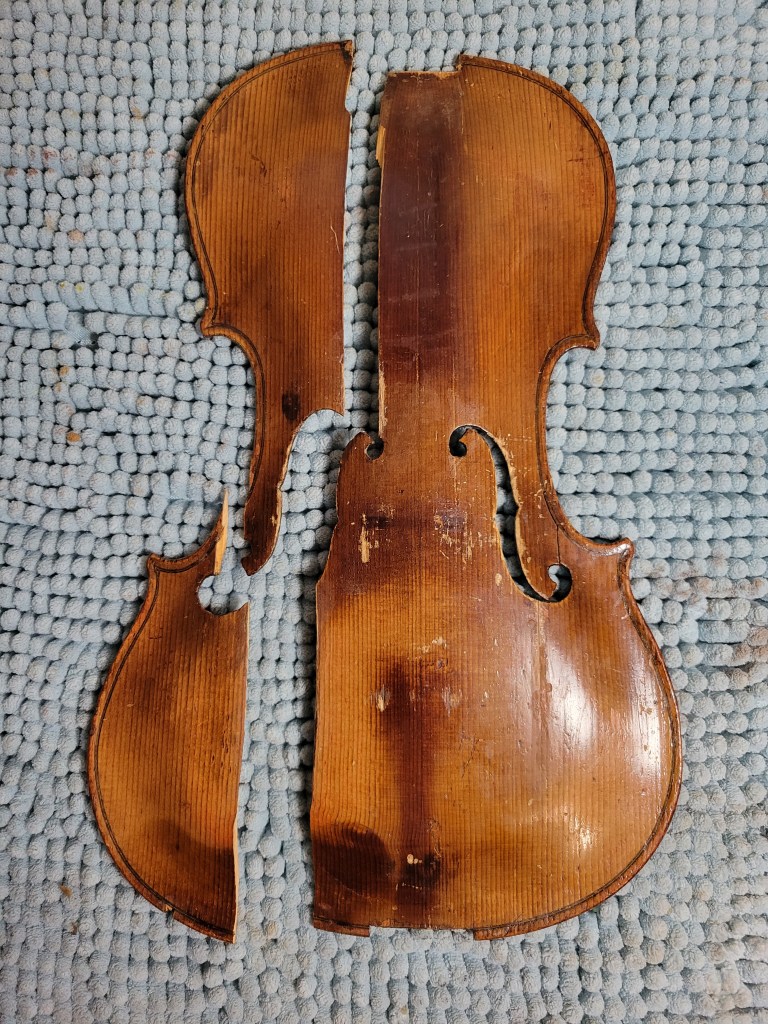
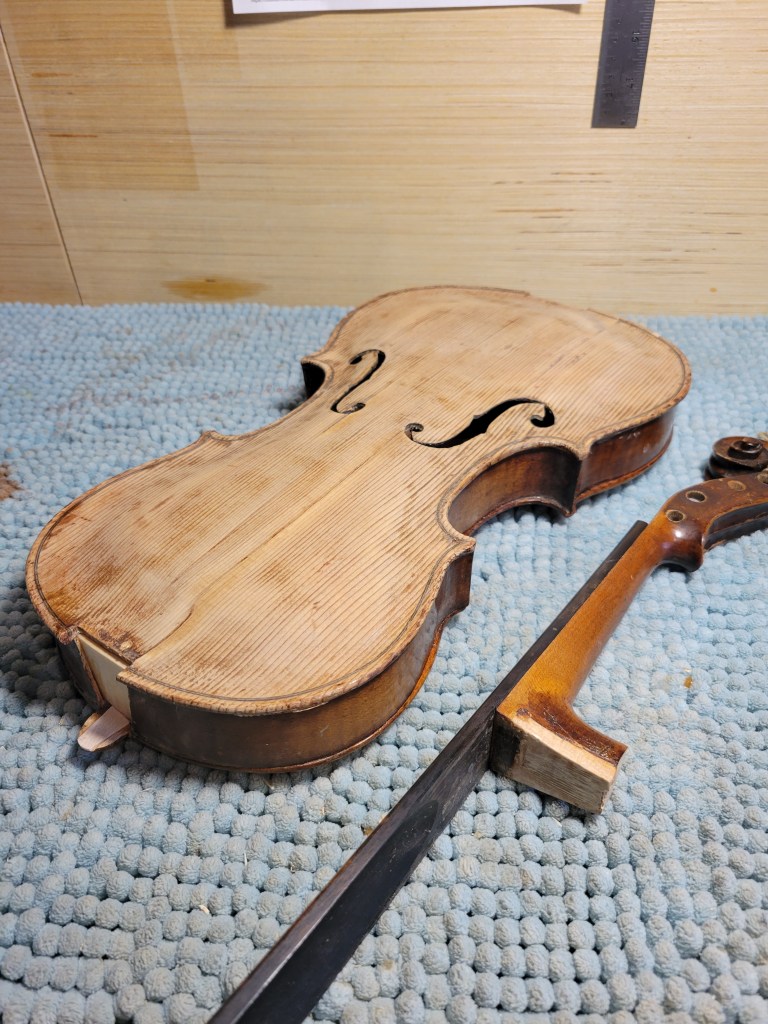
It was a challenge ‘fixing the repairs’ on the belly plate. I tried heating the existing glues with limited success, but in the end, the cracks had to be broken, then glued, clamped and cleated properly. At one point, it was in three pieces. Refinishing the belly plate was one of the necessary evils of this project:

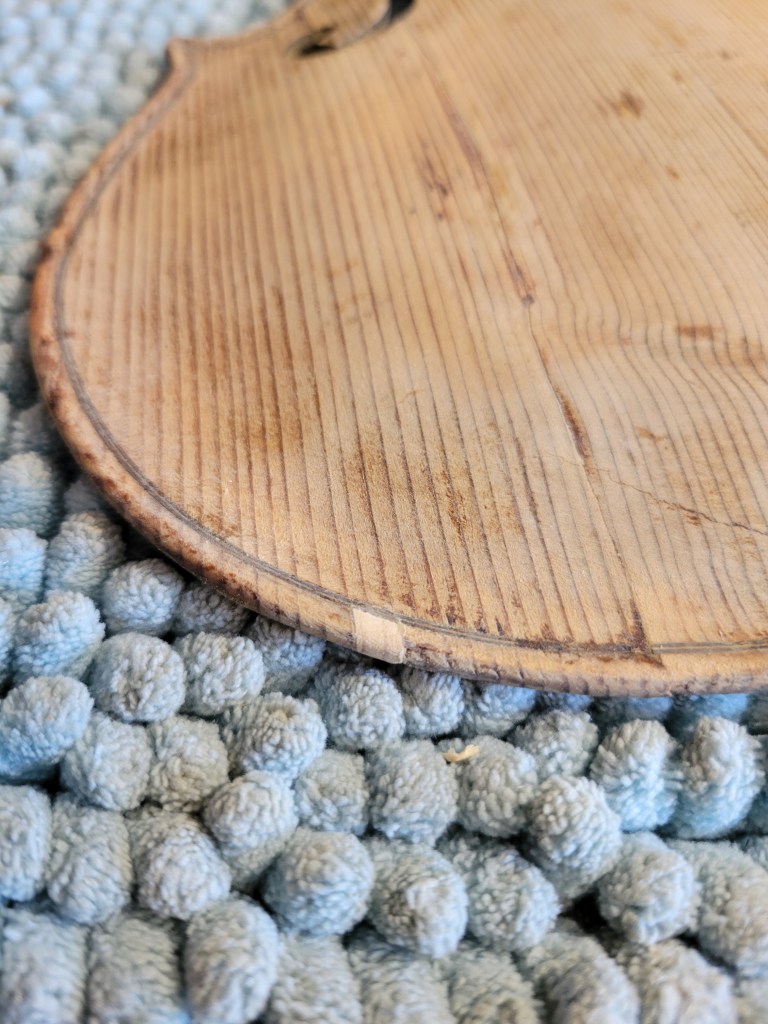
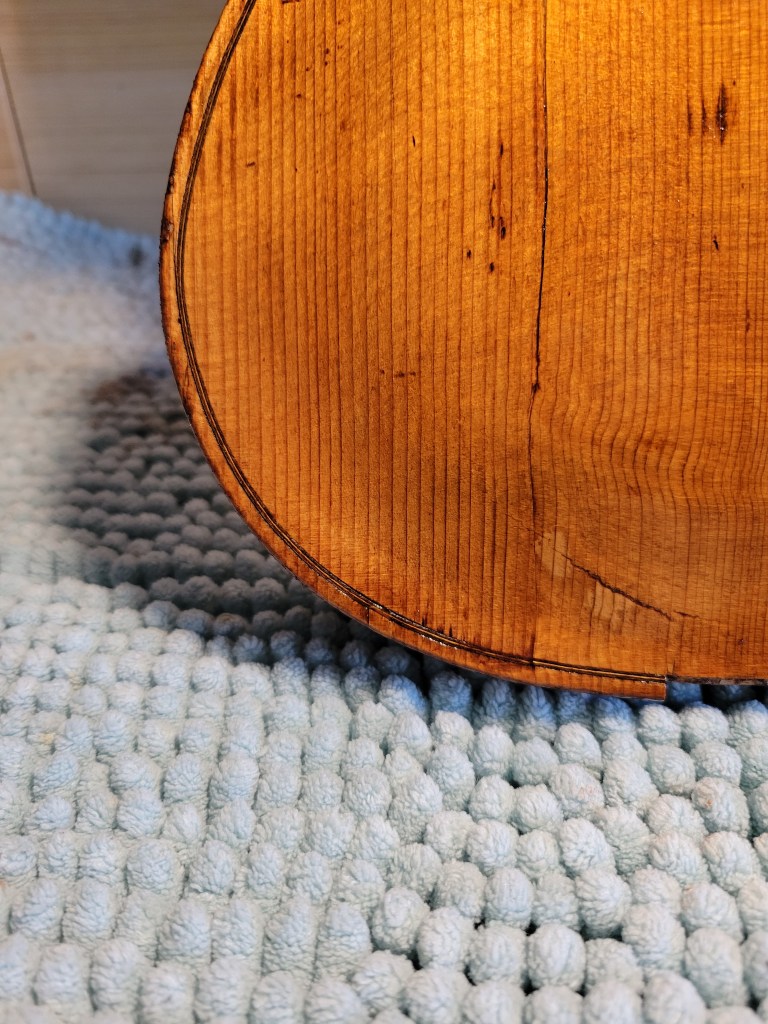
Even small details are important:


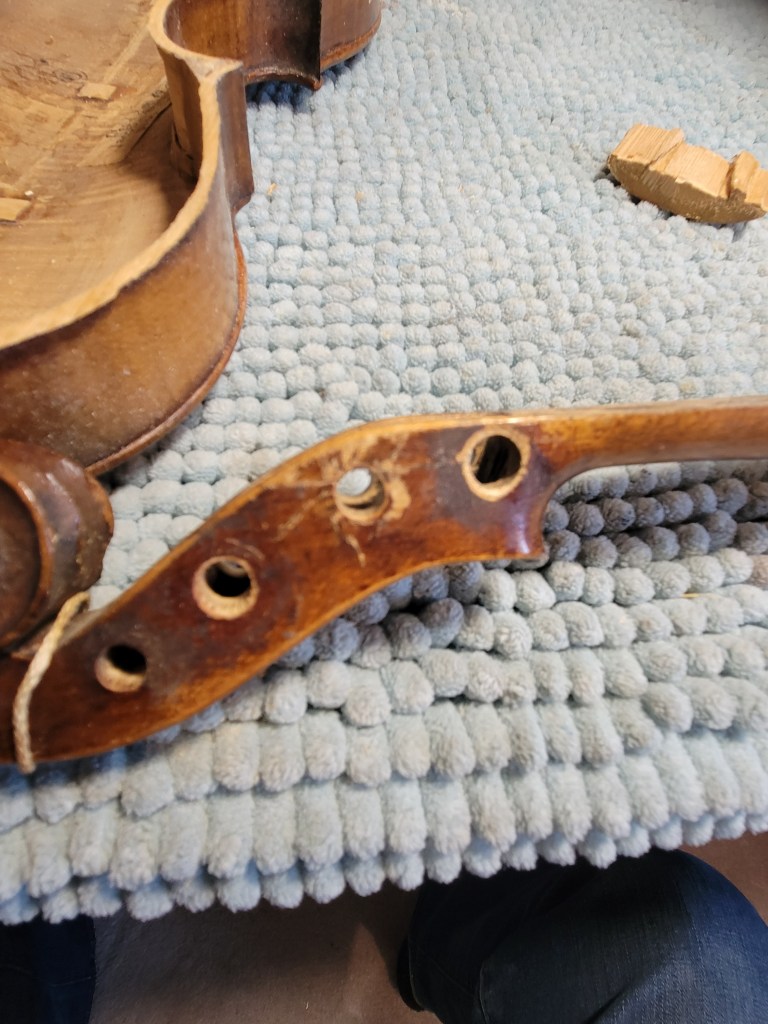
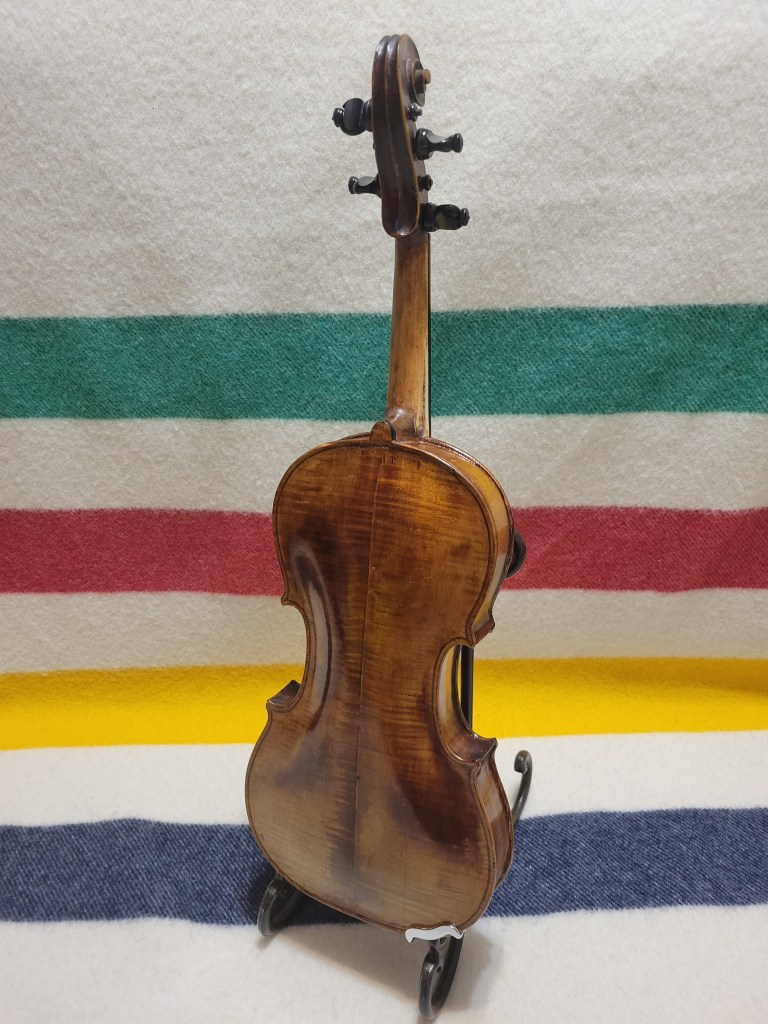
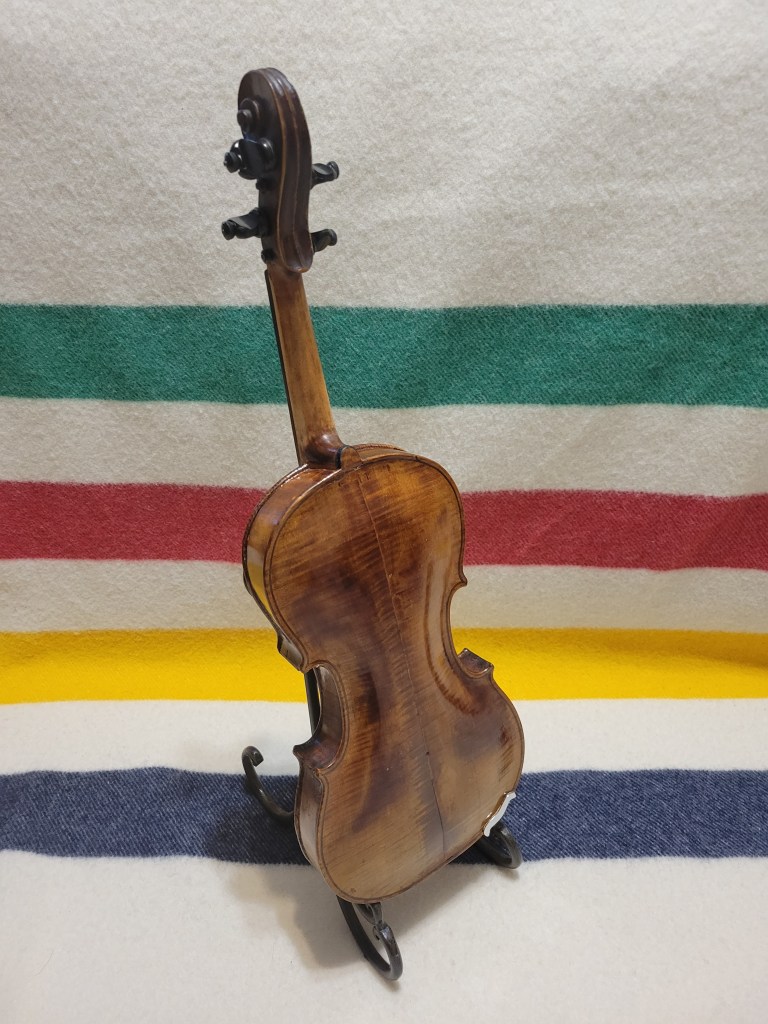
As with the belly cracks, the neck had been glued without using hide glues. When I took it apart, most of the wood shattered, and a chunk was broken out of the back plate. I was able to painstakingly piece the splinters back together before the button graft, but the old front block was unsalvageable. New front block… check!


Perhaps the toughest part of the whole adventure was trying to reset the neck. It was at this point that I realized what I was working with was a mediocre shop-made instrument (hundred years old or not). When the fingerboard was glued to the neck, and the neck aligned with the body of the violin, everything was out of whack. In the end, I was forced to make compromises, and even add material to one side of the neck. Effective. Very ugly:


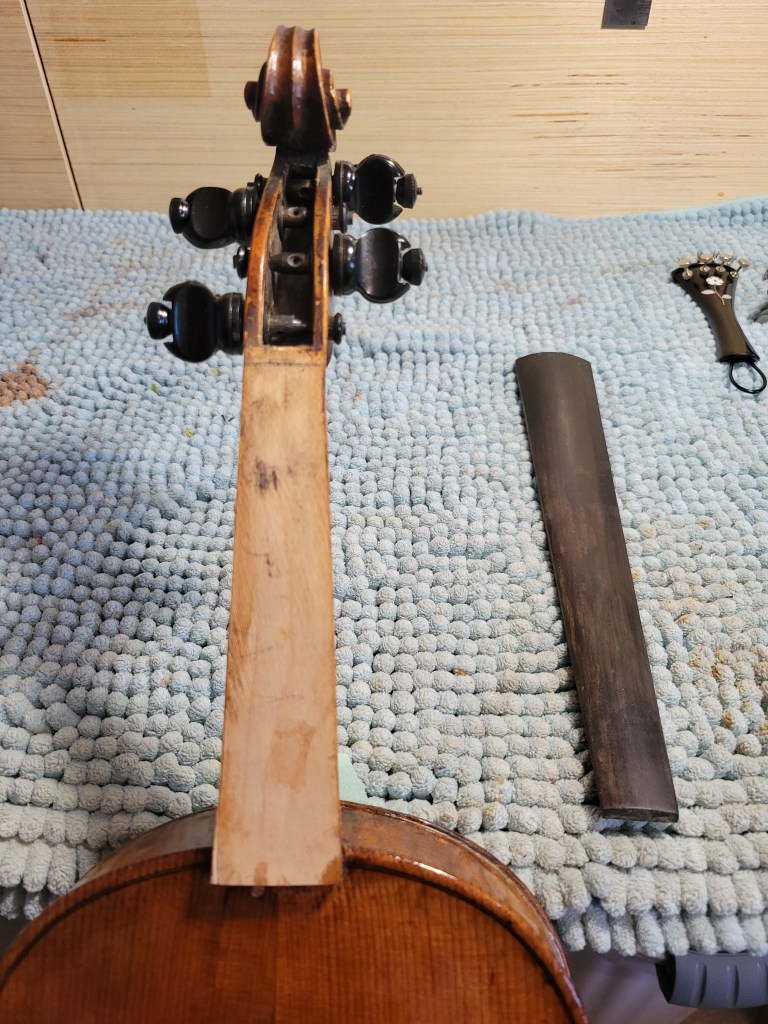


My initial feeling on this violin was that it had some pretty nice wood. The German arching has always intrigued me. In the end, rather than install new pegs as I had first intended, I got the old mechanical pegs fixed up (luckily I had another set to steal parts from). I feel the pegbox was made to accommodate them, and not sure it would be easy to properly convert to regular pegs. So far, I’m not totally unhappy with them.
I did not realize just how much narrower the waist is in these Stainers. Though still adjusting and tinkering, I’m thrilled with the sound production from this beauty!


Did you sign your name and date it on the inside?
LikeLike
I did, and threw a bit of a barb at the guy who did the last repair. I didn’t take a photo of it, tho. It will be seen by the next person to take it apart. Hahaha.
LikeLike
BTW, the violin sounds great!
LikeLike